Key takeaways:
- Seal coating is a cost-effective and efficient way to protect your investment.
- Before you start, do your research and prep work properly. This includes cleaning debris, filling in cracks or holes, and allowing the surface to dry completely.
- To avoid mistakes, calculate how much sealant you need ahead of time and stir it before each use. You should also test for moisture and use painter’s tape to create clean lines.
- Focus on coating one section at a time and allow the sealer to dry for 24-72 hours before using the area again.
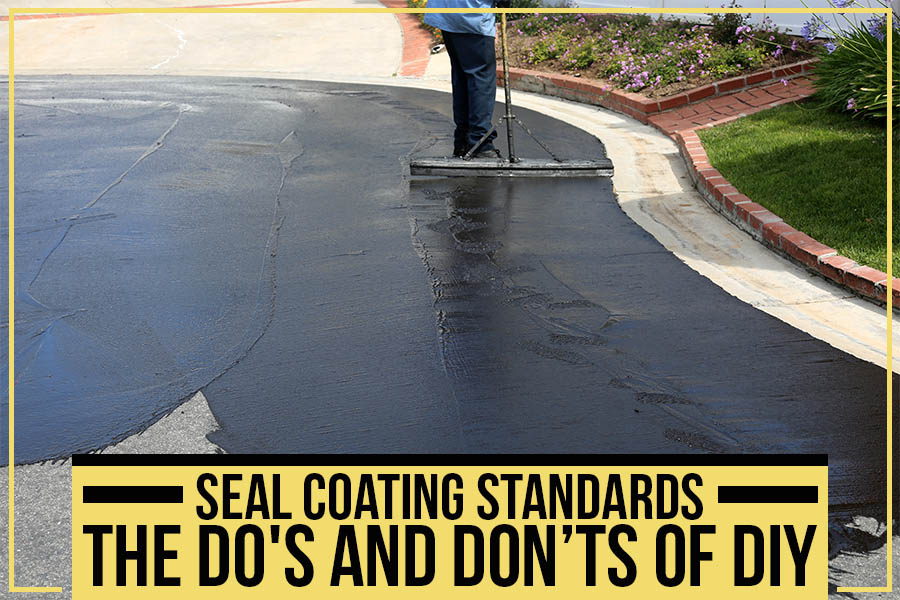
You love working in your own home. There’s something special and gratifying about taking care of your property yourself. From painting the walls to changing the lightbulbs, YOU can do it! Some tasks, however, should be left to the pros, such as seal coating your driveway.
Don’t worry; we’re not here to ruin your good time. Seal coating is an excellent way to safeguard your investment while saving money. But before you start slathering sealant all over your driveway, there are a few things you should know. This blog by Purcell’s paving, and masonry, will discuss the key dos and don’ts of seal coating your driveway.
Do Your Research:
You wouldn’t try to fix your broken washing machine without reading up on how first, would you? The same goes for seal coating your driveway. Before you start, research and study the best products and processes, and read up on which materials will work best for your specific type of driveway and climate. And ensure that you understand all the steps involved in properly seal coating your driveway before you begin. You don’t want an uneven, spotty finish because you skipped a critical phase in the process.
Don’t Forget About Prep Work:
Prep work is essential for any painting project; trust us, seal coating is no different! Once you’ve researched and gathered your materials, it’s time to prep your surface. Start by cleaning debris with a power washer or garden hose fitted with a nozzle attachment. Then fill in any lines, holes, or cracks with a crack filler or patching compound and smooth over with a putty knife until level with the surrounding surface.
Once that has had time to dry completely (follow the instructions on the packaging), go over any rough spots with a wire brush until they’re smooth before applying the seal coat. Suppose you don’t take care of these prep steps beforehand. In that case, all that hard work will likely be for nothing, as sealing over cracks and holes will only temporarily mask them instead of repairing them properly. And an uneven surface will give you an uneven finish. So, take the time to do it right!!
Do The Math:
Before shopping for sealant, calculate how much you’ll need ahead of time. That way, you won’t end up with too much (and waste money) or too little (and have to make a last-minute trip to the store in the middle of your project). To estimate how much sealant you need, measure the length and width of your driveway in feet, then multiply those numbers to get the square footage. Once you have that number, convert it into gallons by dividing by 250 (so one gallon will cover 250 square feet).
For instance: if your driveway is 10 feet long by 10 feet wide, it covers 100 square feet:
10 x 10 = 100 square feet ÷ 250 = 0.4 gallons.
So for this particular driveway, you would need close to one gallon of sealant. This number will fluctuate depending on the sealant you select, so read the package carefully before purchasing!
Don’t Forget to Stir Your Sealer Before Using It:
It’s important to stir (or shake if it’s a bucket) your sealer before each use so that all ingredients are evenly mixed. Otherwise, you risk having an uneven coat that falls short of your goals.
Do Test for Moisture:
Another mistake people make is sealing a damp driveway or parking lot. This will also cause the sealant to fail prematurely. Before you start your project, test the asphalt for moisture by sprinkling water on it—if the water beads up and doesn’t soak in, it’s too damp to seal, and you must wait for it to dry out completely before proceeding.
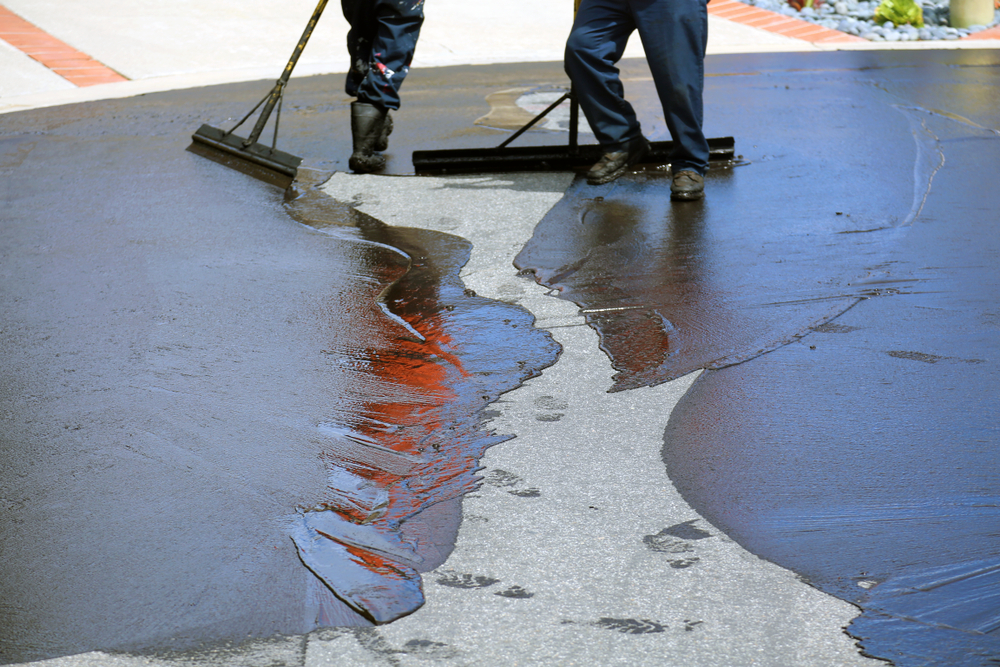
Don’t Forget to Use Painter’s Tape to Create Clean Lines:
Seal coating is messy, and despite your best efforts, some of the material is bound to end up where you don’t want it. So, before you start, take the time to cover areas susceptible to overspray (like sidewalks, driveways, and vegetation) with painter’s tape or drop cloths. This will help ensure crisp lines and will make cleanup a breeze.
Do Try to Coat One Thing at A Time:
Many first-time DIYers make the mistake of trying to tackle their entire driveway in one go—but that rarely ends well. Not only is it difficult (not impossible) to reach every nook and cranny while working alone, but also by trying to do too much at once. Chances are good that some areas won’t get coated evenly (or at all).
,So the best advice from our experts is to focus on one section at a time and take frequent breaks. That’s so that you AND your material don’t overheat in direct sunlight (which can cause premature drying and produce an inferior finish). Our rule of thumb for seal coating is to work on no more than 500 square feet at a time per gallon of sealer applied. Exceed any more than that, and it becomes difficult to achieve consistent coverage without running out halfway through (or worse—wasting material).
Don’t Hasten the Drying Process:
Allow the sealer to dry before driving or walking on it for at least 24 hours for foot traffic and 48-72 hours for cars, trucks, RVs, etc. If you get impatient and try to use the space too soon, you’ll track tire marks and footprints all over your fresh seal coat job.
Conclusion:
Seal coating your asphalt lot can save you a lot of money—but only if it’s done correctly. Following these key dos and don’ts ensures that your project looks great and lasts for years.
However, if you are doubtful, it is preferable to get professional assistance!
Purcell’s Paving and Masonry, serving Warren, NJ, provides the best seal coating treatments to preserve your asphalt and keep it looking good for years. Our procedure is quick, simple, and inexpensive, allowing you to get the most out of your pavement without breaking the bank.
Connect with us


Categories
From Excavation to Construction & Paving, We’re Your Friendly One-Stop Shop!
Providing a Full Range of Masonry and Paving Services in Bridgewater, New Jersey. Satisfaction Guaranteed!
Purcell's Paving and Masonry
-
778 Harding Road
Bridgewater, NJ 08807 - Mike (Owner) 908-906-0564
- purcellpavingmasonrynj@gmail.com
Our Services
Hours of Operation
| Monday | 7:00AM - 7:00PM |
| Tuesday | 7:00AM - 7:00PM |
| Wednesday | 7:00AM - 7:00PM |
| Thursday | 7:00AM - 7:00PM |
| Friday | 7:00AM - 7:00PM |
| Saturday | Closed |
| Sunday | Closed |
License#
Home improvement contractor 13VH09365200